The first recipe I made was Salt Preserved Egg Yolks. Having a flock of our own free range chickens this seemed a wonderful opportunity to take our homemade pasta nights to a new level. I used the recipe from Hunter Angler Gardener Cook found here: http://honest-food.net/salt-cured-egg-yolks/. I chose to use 6 eggs because it fits nicely in a muffin pan. I will update the blog with a new post when they come out of hiding on 2/31.
The process is easy. You separate the eggs. You line what ever container you are using with a half inch of salt (I used sea salt but you can use Kosher as well) and create a divot that you will place your yolk in. Once they are all in, bury them in salt, put them in the refrigerator, and wait one week.


The second recipe I made was Salt Preserved Lemons. I more or less followed the recipe on Food in Jars found here: http://foodinjars.com/2011/02/preserving-lemons/ but being a very visual person, I perused the web for recipes that had more pictures as well. This was another very straight forward process.
Step one, thouroughly wash and scrub your lemons. I wanted to scrub harder since mine seemed rather waxy but didn't want to upset the zest.

Step 2, you cut the nubs off either end of the lemons and then quarter them ALMOST all the way but keep them intact. I did make the mistake of cutting a few all the way apart, but just continued.
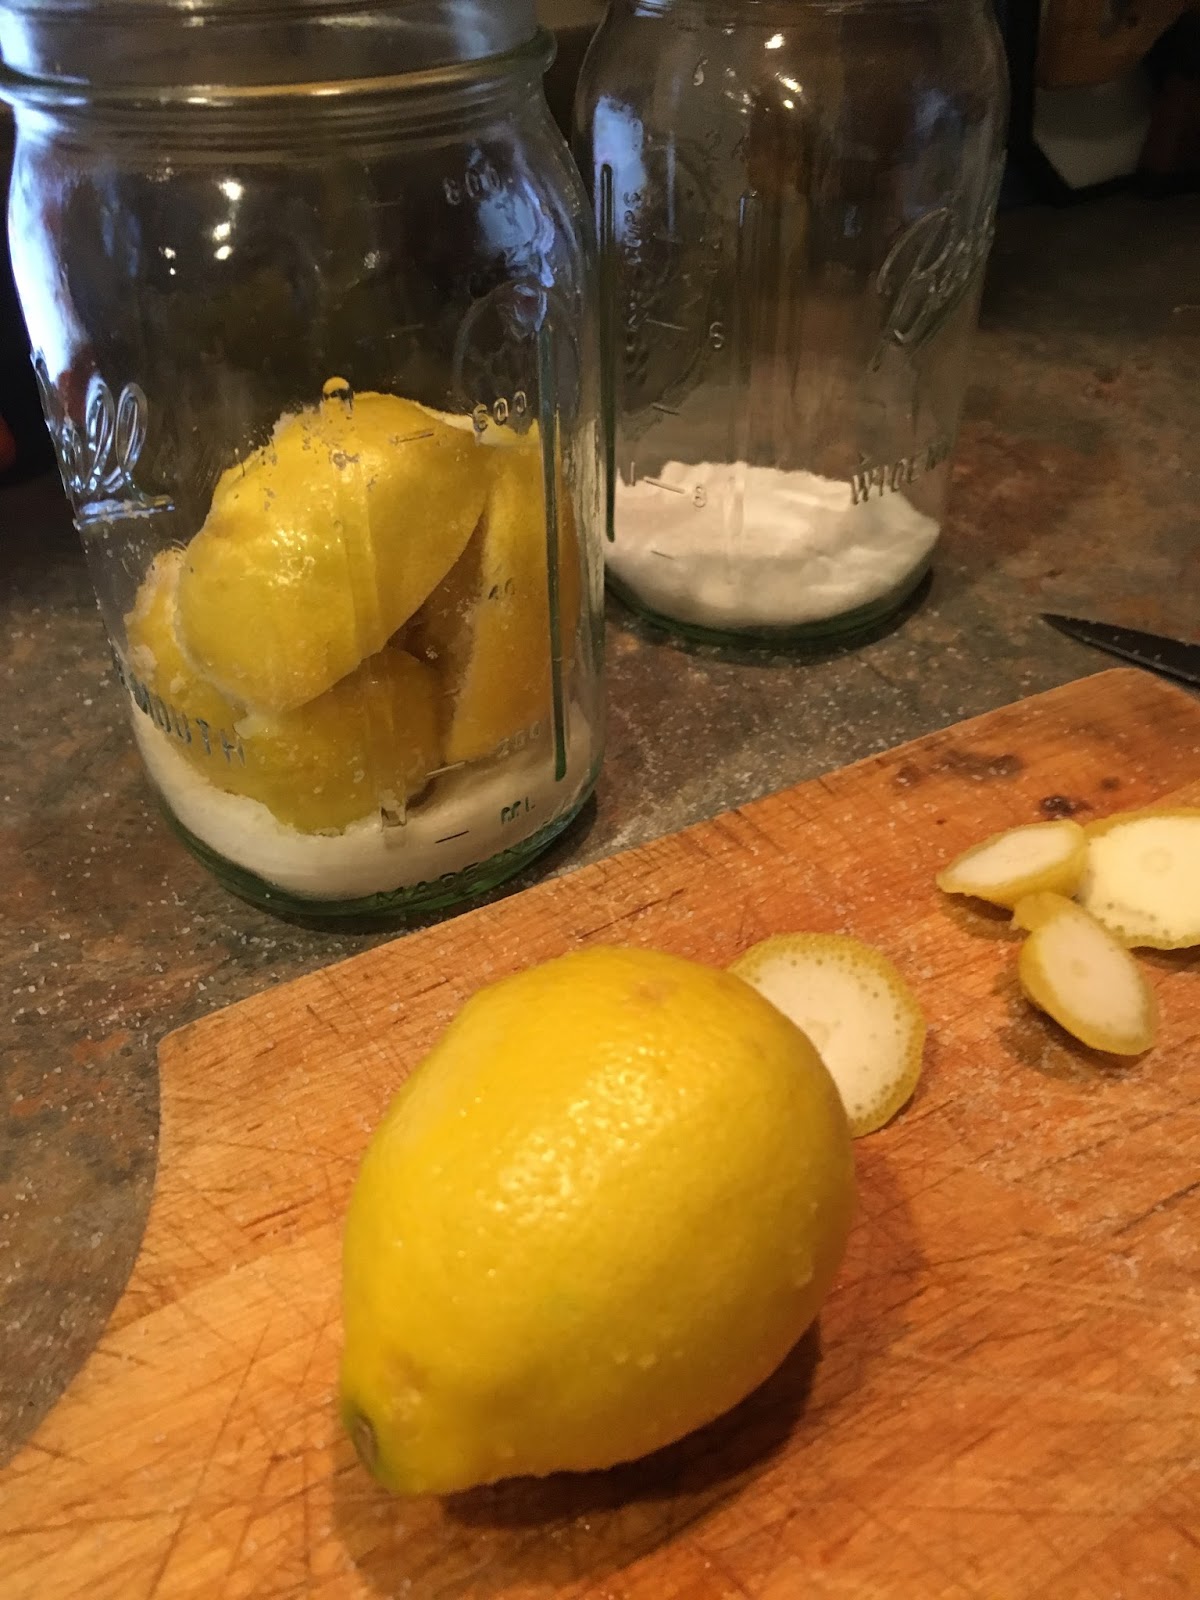
Put a good layer of salt on the bottom of your jar and then, holding the lemon over the jar, spread roughly a teaspoon of salt into all the cracks and then pack it into the jar.

Add salt after each layer of lemon. Feel free to use pressure to get them in there because the point is to draw out the juices from the fruit. I used 10 lemons and packed them into Quart Mason jars, about 5 lemons in each.

The jars sit out on the counter for 3 days before moving into the fridge. The goal is to have them covered in juices by the end. Here is my jars after two days.

I am a little concerned about the salt leaking out of it and the lids not being airtight as a result, but I do not want to go to metal lids and bands because of the corrosion the salt will cause. We will have to see in a day or so. I am HOPING that i can fit them all in one jar before they go in the back of the fridge for three weeks. We will see and I will update with a new post.
The last recipe I made was two herb salts. I thought this was a wonderful way to make rubs for meat and to help stretch those herbs out even longer - whether it is store bought or garden grown - herbs so quickly wilt and rot. I used the following links for encouragement, A Raisin and a Porpoise and The Prairie Homestead. This was very straight forward : combine 1/2 cup salt and your bunch of de-stemmed herbs in a food processor.
This is my cilantro and then rosemary salts laid out after being processed.


Lay it out on parchment paper or on a dehydrator shelf, and dehydrate until all the moisture is removed. I used the oven since I don't own a good dehydrator yet (I killed my old one trying to dry out left over tempura fry). I set my oven to 200 degrees and left it in for about 1/2 an hour then I turned the oven off and left it in. (truth be told I had to go out).

The next morning they were thoroughly dried and shelf stable so I jarred and labeled it.


I look forward to using there on some pork tenderloin or even smoked Trout this spring. Yum! I can't wait to see what the March Challenge will bring - jellies and "shrubs"? Hmm it has me thinking.


No comments:
Post a Comment